SpermCheck offers at-home fertility testing and post-vasectomy testing.
Want to know the state of your swimmers?
Whether you’re looking to add to your family or make sure your vasectomy did the job, SpermCheck is an affordable at-home sperm test that helps you get answers about your sperm count level.
Choose My TestTest Privately At Home
Say goodbye to cold doctor's office restrooms. With SpermCheck you can test and get results in the comfort of home.
Get Fast, Accurate Results
Waiting weeks for an expensive appointment? No thanks. Get answers within minutes for less.
Take the Next Step
Use your results to move forward on your unique fertility journey–whatever it looks like!
Order your at-home sperm test
How It Works
Choose Your Test
Take the Test
No more cold bathrooms or awkward cup hand-offs. Take your test at home and get results in minutes.
Know Your Status
Whether you want to start or stop growing your family, use your test results to take action and move forward.
Why use SpermCheck as your sperm count test?
Recommended by Urologists
Urologist-recommended for checking sperm count.
FDA-Cleared
SpermCheck Fertility and SpermCheck Vasectomy are both cleared by the FDA.
Over 100,000 Tests Sold
We’ve helped many families check fertility in the comfort of home.
98% Accuracy
Detects the levels of SP-10, a protein only present in sperm.
Over 5,000 5-Star SpermCheck Reviews
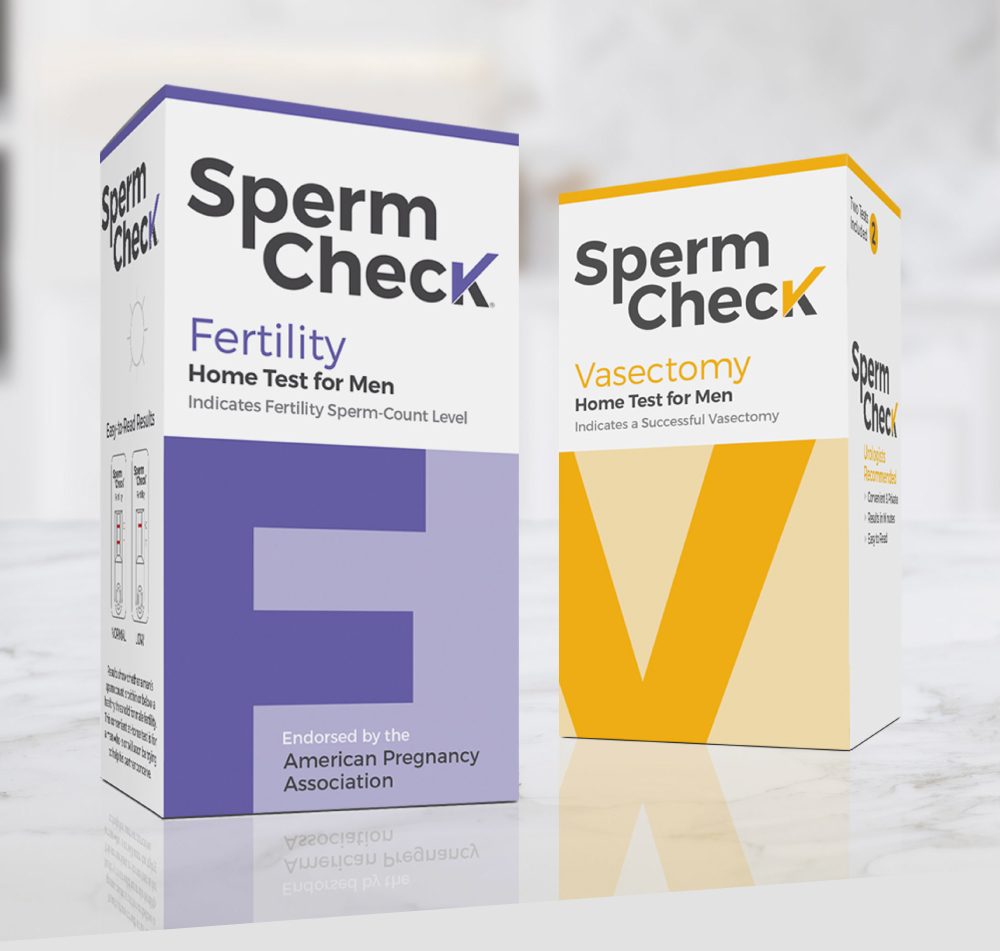
Choose Your Test
Frequently Asked Questions
How can I check my sperm count at home?
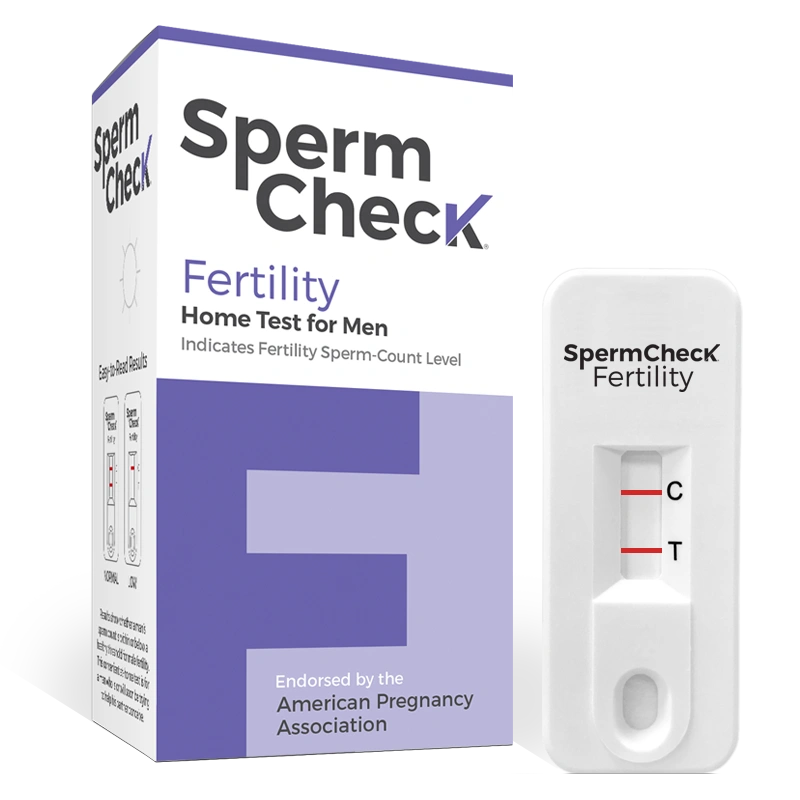
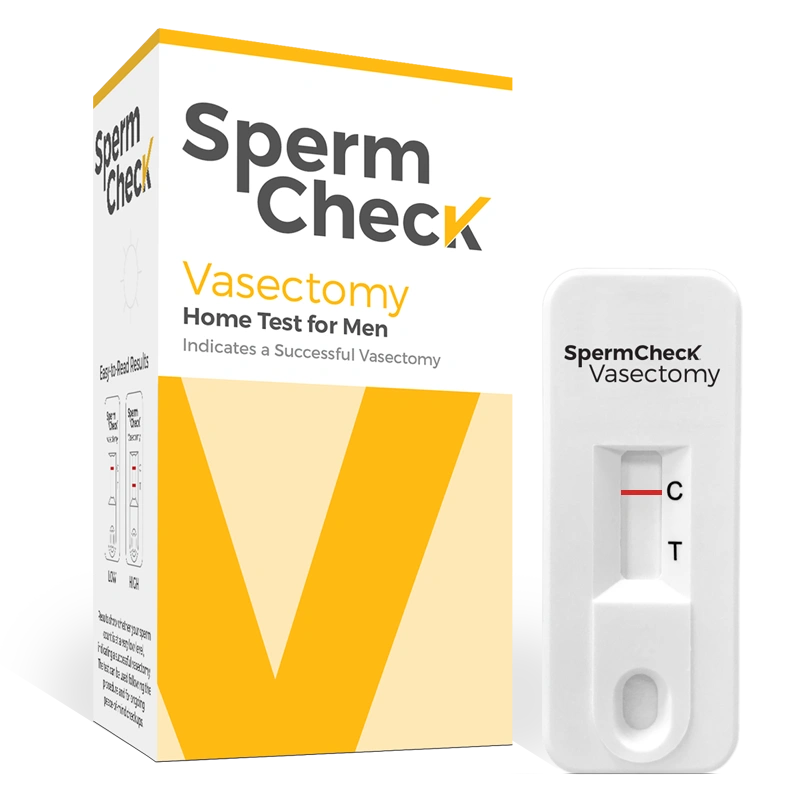
You can check your sperm count from the comfort of your home with an at-home sperm check test. All you need to do is provide the semen sample. SpermCheck offers two testing kits, each one tailored for specific stages in the male fertility cycle. For example, if you have had a vasectomy and want to ensure your semen is sperm free, the SpermCheck Vasectomy Test is for you. If you are looking to conceive but want to ensure low sperm count is not an issue, you should consider the SpermCheck Fertility Test.
How do I collect my sample when taking a home sperm test?
Collect your sample in the semen container provided within the test kit. Ejaculate into the collection cup and avoid using any lubricants or saliva. Also, do not use a condom to collect the semen, as some condoms contain spermicides which can contaminate semen samples and lead to inaccurate results.
Can underlying conditions hinder male reproductive health?
In some cases, your fertility status may change if you have certain underlying conditions. If medical conditions are a concern for you, consult with your primary care physician to discuss potential risks and interventions. Early diagnosis and intervention can play a pivotal role in optimizing fertility outcomes. Hormonal imbalances, structural anomalies, infections/increased count of white blood cells, and/or certain medications can cause male infertility or affect specific metrics like sperm concentration, semen volume, sperm motility, sperm morphology, sperm count, and more.
What is considered a normal sperm count?
A typical healthy concentration of sperm is 15-20 million sperm per milliliter or more. Sperm analysis results that are lower than 15-20 million sperm per milliliter would be considered low sperm count.
How can a man increase his sperm count naturally?
The following dietary and lifestyle changes can help men with a low sperm count:
- Eat a healthy diet rich in fresh fruits, vegetables, and whole grains.
- Replace animal fats with monounsaturated oils, such as olive oil.
- Certain specific nutrients and vitamins have been studied for their effects on male infertility and sperm health. While there is no conclusive evidence that they are effective, antioxidant vitamins (vitamin C, vitamin E) and the dietary supplements L-carnitine and L-acetylcarnitine, are known to help increase sperm count.
- Avoid cigarettes and any drugs that may alter normal sperm counts or reduce sexual function.
- According to a study from Harvard University, there is a direct correlation between waist size and testosterone levels. 2 The ideal BMI is between 20 and 25.
- Get 7 to 8 hours of sleep every night.
- Exercise moderately, but regularly, as excessive exercise can impair fertility.
- Although studies indicate that tight underwear is no threat to male fertility, there is no harm in wearing looser clothing (switch from briefs to boxers).
- To prevent overheating of the testes, men should avoid hot baths, Jacuzzis, steam rooms, and using a laptop computer directly on the lap for a long length of time.
- Avoid the use of sexual lubricants as they may affect sperm motility.
- Reduce stress. It is not known if stress reduction techniques can affect fertility, but they may help couples endure the difficult processes involved in dealing with infertility issues.
When should I test my sperm levels after my vasectomy?
Your physician will generally determine the number of semen analysis tests required to ensure your sterility. Even with a complete semen analysis by your physician, we do recommend that you test yourself at two different time intervals in the first three months post-procedure. It is generally considered best to test 60 and 90 days after your vasectomy.
After the first three months, how often should I check my sperm levels?
Additional semen testing should also be performed at least once per year after your procedure. Many men test every 6 months to ensure that their vasectomy is still working.
I have other questions about how to use my home sperm test. Who can I contact?
If you’re not sure how to perform the test, how to read the result, or if you don’t understand the meaning and possible consequences of your test result, you can contact Customer Service at (866) 635-2308 during business hours (M–F, 8am to 5pm Eastern) or email [email protected] 24/7, or for medical questions, contact your healthcare provider.
How should I store my test?
Store your SpermCheck Vasectomy/Fertility Test in a cool, dry place at 36°–86°F (2°–30°C). Do not freeze.
